Scheduling workers
- Open People tab/Shift-board screen. White fields are open shifts with planned work. Dark grey fields are closed shifts. Light gray shifts are open shifts with no production orders planned. Hatch pattern means that a tool change is predicted in that shift.
- You can change the week via the week picker on top.
- You can see how many workers are required for each shift in the header row: Required people.
Select a worker on the list on the left (you can use the search box to find them more easily). Then click on individual shifts on the right to assigne the selected worker to shifts. Click again to remove them. Ctrl+click to assign/unassign for the whole week in the same shift.
If you need to clear shifts of all assigned workers, select “deletion” checkbox and then click on shifts. Be sure to save the schedule before exiting the view or changing the week, or your work will be lost. *Hint: additional “production lines” can be created for the sole purpose of noting sick days, personal days off, etc.
Taking and rotating the shifts from previous week
- If you want to take the schedule from previous week, click Reccomend a schedule. It will take previous week’s schedule and rotate the shifts according to the Plant settings.
Adding individual workers
- Select a worker on the list on the left.
- Workers from other Linegroups can be selected via Search
- With a worker selected, click the shifts where you want to schedule this worker. You can use Control+click to schedule this worker on all days of the week. Click or Control+click again to remove the worker from shift(s)
- To remove all workers from shift (not only the selected one), select Deletion checkbox on the top-right.
Scheduling workers in Pool mode
- If a worker scheduling for a Linegroup is done in Pool mode, you need assign workers to shifts, without specifying the specific production line. -The gray box below each shift shows the number of lines that have people assigned and the number of all lines.
- Click on the grey box to open display the lines and schedule workers on specific lines, if needed. There, click on a worker and then on the line where you want to schedule them.
- If there are production orders scheduled, the number of man-hours required will be shown. If there are more hours required than the workers assigned are allowed to work, an alert will be shown.
12-hour shifts
- If a worker is highlited in yellow, it means that they can work 12-hour shifts. This can be set in the worker’s Edit screen.
Alerts
-
Alerts can be used to warn you about scheduling errors. You can enable or disable them in the Settings…
- Unqualified for the line: this worker does was not trained for work on this line. You can define a worker’s competencies their Edit screen.
- Assigned to multiple lines within the same day: turn this alert off, if workers are work on more than one line in a shift. -Invalid shift: a person is assigned to a shift which is not allowed for them. You can see allowed shifts (1, 2 and 3) under their name. You can change allowed shifts in their Edit screen.
- Assigned to too many shifts: a person is assigned to more shifts this week than they are allowed to. You can change this in their Edit screen.
Printing the schedule
- Before printing a schedule, you will have to save it first, if you have made any changes.
- Click the Print button to show different printing options. You can print out the whole week’s schedule or individual days.
- Before printing a single day, you can add a comment, which will be shown on the schedule. -In settings, you can choose to also print work orders when printing a single day schedule.
- When you click on one of the options, the schedule will be downloaded. It should be visible on the bottom of your browser as “timetable-1.html”. Click on it to open and print it.
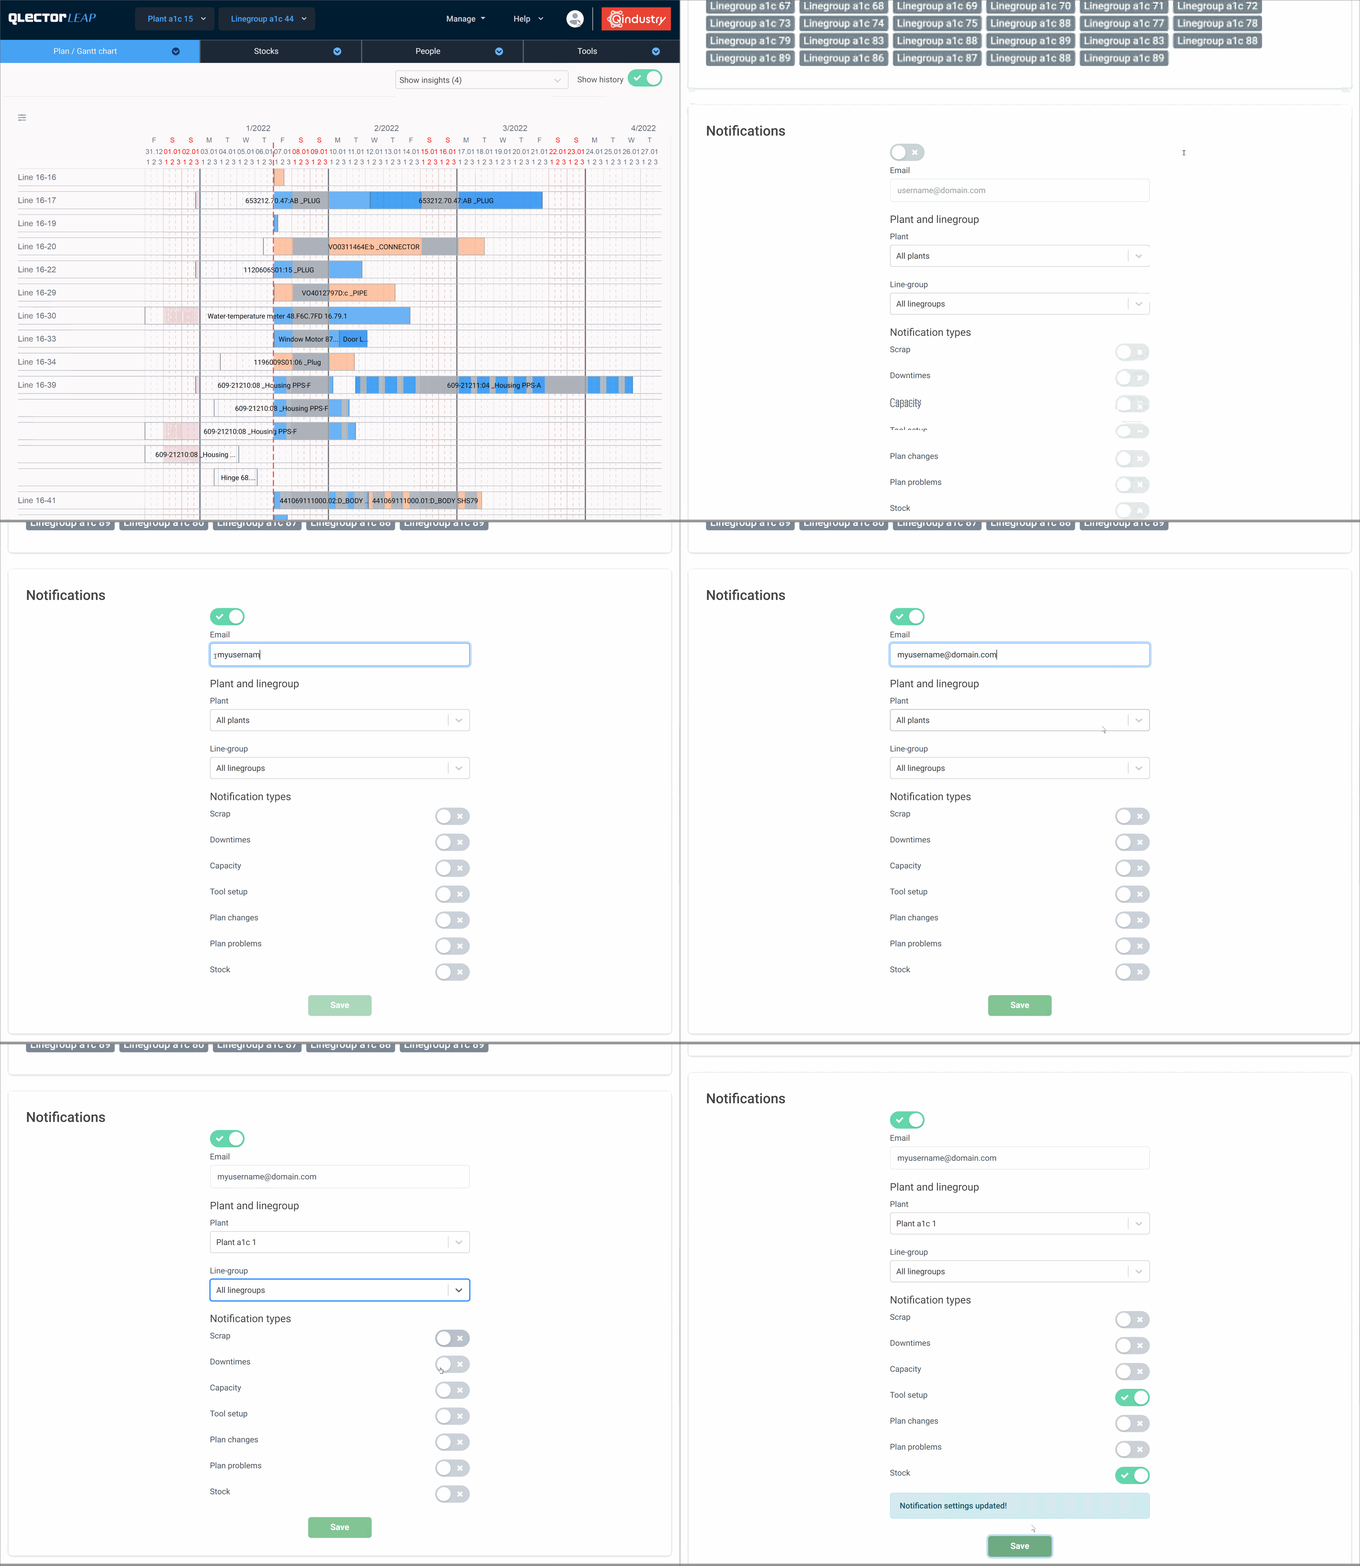
Setting up e-mail notifications
- Go to the User account/Settings menu
- Turn on the Notifications toggle button
- Enter the e-mail address, to which the notifications will be sent
- Select the Linegroup, for which you wish to get the notofications. You can also select All linegroups.
- Select which types of notifictions you wish to receive. If you are not quite sure, it is best to select all of them, and later turn off those that are not relevant to you.
- Save

